The $2,000 Mistake I Made on Day One
When I decided to take YouTube seriously, I did what every amateur does: I obsessed over the camera. I spent three months saving up $2,000 to buy a mirrorless 4K camera and a beautiful portrait lens with a blurry background. I was convinced that cinematic visuals were the secret to blowing up.
I recorded my first video. It looked like a movie. The lighting was moody, the depth of field was perfect.
I uploaded it, incredibly proud of my "production value." But when I looked at the retention graph two days later, 80% of viewers had clicked away in the first 10 seconds.
I read the first comment: *"Bro, it sounds like you recorded this inside a tin can at the bottom of the ocean. Unwatchable."*
I had spent my entire budget on a camera and recorded the audio using the built-in microphone bouncing off my bare bedroom walls. It was an echoing, tinny disaster. That was the painful way I learned the golden rule of video production: Audio is more important than video.
If you want to keep viewers watching, you have to master YouTube audio optimization, understand how to build a budget YouTube microphone setup, and learn basic voiceover editing techniques. Here is the ultimate guide to making your channel sound professional without breaking the bank.
---
---
Why the Human Brain Hates Bad Audio
To understand why audio is so critical, you have to understand how viewers consume YouTube in 2026.
Viewers are remarkably forgiving of bad video quality. Think about it: we happily watch 480p dashcam footage, shaky smartphone vlogs, and grainy security camera videos if the story is compelling.
But bad audio? It causes physical discomfort. Hissing backgrounds, booming echoes, or voices that are too quiet force the brain to work overtime just to understand what is being said. When viewing requires effort, the viewer's immediate subconscious reaction is to swipe away.
Furthermore, a massive percentage of YouTube consumption is auditory. People listen to video essays, tutorials, and podcasts while commuting, cooking, or working. If your visuals are stunning but your audio is garbage, you lose this entire demographic.
For more on how technical elements affect viewer drop-off, read our deep dive into audience retention strategies.
Step 1: Fix the Room (The Free Upgrade)
Before you buy a new microphone, you must fix the room you are recording in. A $1,000 microphone in an empty room with hardwood floors will sound worse than a $30 microphone in a well-treated space.
The enemy of good audio is reverb (echo). Sound waves bounce off hard, flat surfaces and hit the microphone slightly after the direct sound from your mouth. This creates that "bathroom" sound.
How to treat your room for free (or very cheap):
- The Closet Trick: If you are doing voiceovers without being on camera, record in a closet full of clothes. The soft fabrics absorb sound waves perfectly.
- Moving Blankets: Hang heavy moving blankets just off-camera on the walls in front of and behind you.
- Soft Furnishings: Bring rugs, pillows, and a couch into your recording space.
- Proximity: The closer you are to the microphone, the less room echo it picks up. Get the mic as close to your mouth as possible without it being in the shot (or just leave it in the shot—viewers don't care!).
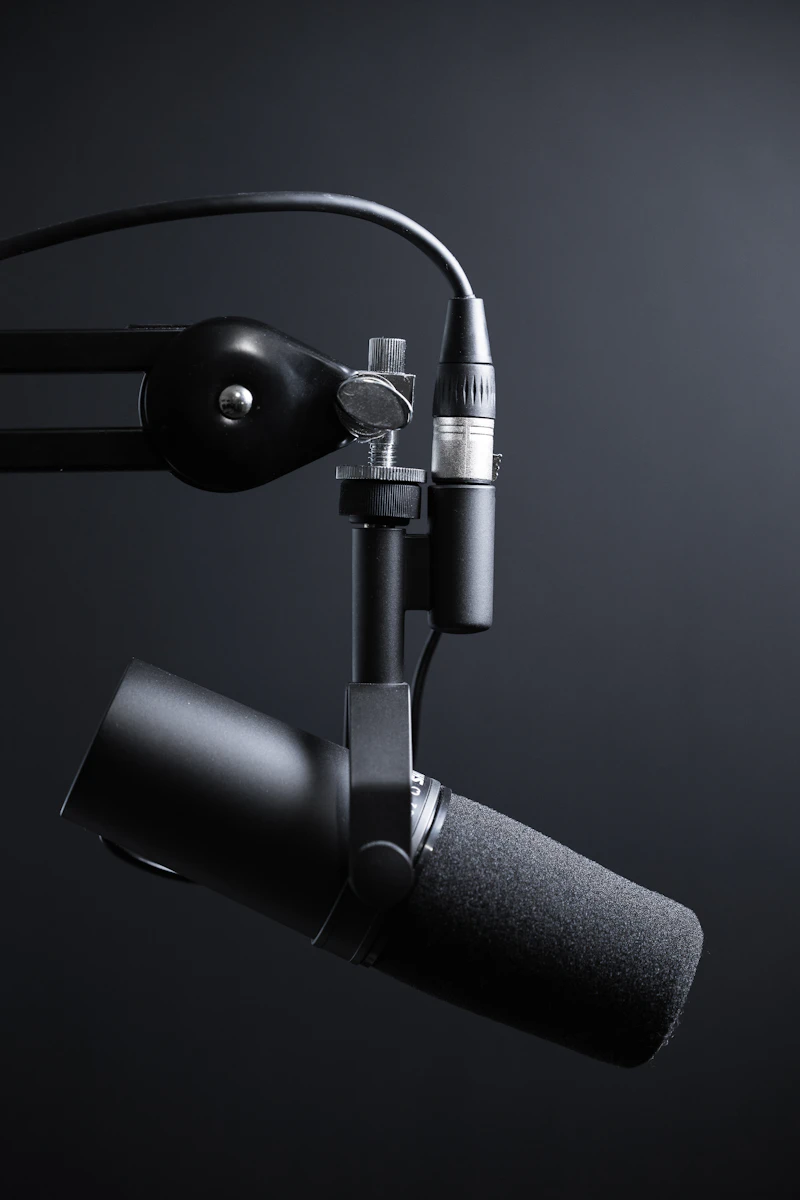
Step 2: The Budget Microphone Setup
You do not need an expensive XLR microphone and audio interface to start. USB microphones have gotten incredibly good.
The Dynamic vs. Condenser Rule: Most beginners buy a Blue Yeti (a condenser mic). This is usually a mistake. Condenser microphones are incredibly sensitive; they pick up your computer fan, the air conditioner, and a dog barking three streets over.
Instead, buy a Dynamic Microphone. Dynamic mics are much less sensitive and only pick up sound that is right in front of them. This makes them perfect for untreated bedrooms.
Top Budget Recommendations (Under $100): 1. Samson Q2U: The absolute best value for money. It is a dynamic mic that sounds fantastic and has both USB and XLR outputs (so you can upgrade your setup later without buying a new mic). 2. Audio-Technica ATR2100x: Very similar to the Samson, excellent rejection of background noise. 3. Rode VideoMicro (For Cameras): If you must use a shotgun mic on top of your camera, this $60 mic is vastly superior to the built-in camera audio.
Pair your microphone with a cheap boom arm to get it close to your mouth, and you will instantly sound better than 80% of creators on the platform. If you are building a full setup, check out our ultimate YouTube equipment guide.
Step 3: Basic Voiceover Editing (The Magic Touch)
Raw audio straight from the microphone sounds a bit flat. With three simple tweaks in your editing software (Premiere Pro, DaVinci Resolve, or Final Cut), you can make it sound like a radio broadcast.
1. Noise Reduction: Apply a light noise reduction effect to remove the low hum of your computer or AC. Don't push this too hard, or your voice will sound robotic and underwater.
2. EQ (Equalization): EQ is how you adjust frequencies.
- *High-pass filter:* Cut off everything below 80Hz to remove rumbles and desk bumps.
- *The "Radio" boost:* Add a slight boost (2-3 dB) around 100-150Hz to give your voice warmth and authority.
- *The Clarity boost:* Add a slight boost around 3-5kHz to make your words crisp and easy to understand.
3. Compression: When you speak naturally, some words are loud and some are quiet. A compressor squashes the audio so the loud parts and quiet parts are closer in volume. This makes your voice sit perfectly on top of background music without getting drowned out.
Step 4: Mastering Background Music
Background music is the emotional driver of your video, but it ruins more videos than it helps.
The most common amateur mistake is making the music too loud. If a viewer has to strain to hear your voice over the beat, they will leave.
The Audio Level Rules:
- Your dialogue should peak around -6dB to -3dB.
- Your background music should sit around -25dB to -30dB when you are speaking.
- When you stop speaking (during a montage or transition), bring the music up to -10dB (this is called "audio ducking").
Never use copyrighted music. Use royalty-free libraries like Epidemic Sound, Artlist, or the free YouTube Audio Library to avoid demonetization. For a complete guide to making money on your videos, read our YouTube monetization guide.
---
Frequently Asked Questions
Can I just use my iPhone to record audio?
Yes! Modern iPhones actually have excellent microphones. If you don't have budget for a dedicated mic, place your iPhone just off-camera (or use a lapel mic plugged into it) and record a voice memo while you film. Then, sync the high-quality phone audio with your video in the editing software. It sounds vastly better than camera audio.
What is a pop filter and do I need one?
A pop filter is a screen (usually nylon or metal) placed between you and the microphone. It disperses the sudden burst of air that happens when you say "P" or "B" words (plosives), which otherwise cause a loud, booming thump in the audio. Yes, you absolutely need one if you are speaking directly into a microphone. They cost $10 and save hours of editing frustration.
How do I sync external audio with my video?
The classic Hollywood clapboard exists for a reason! Start recording your camera and your microphone, sit in front of the camera, and clap your hands loudly once. In your editing software, you will see a massive spike in both audio waveforms. Line up those two spikes, link the tracks, and mute the bad camera audio.
Does YouTube compress my audio?
Yes, YouTube normalizes audio across the platform to ensure viewers don't get blasted with sudden volume changes between videos. YouTube targets -14 LUFS (Loudness Units relative to Full Scale). Most modern editing software allows you to measure and export your final video at exactly -14 LUFS so it sounds perfect on the platform.
Are wireless lapel microphones worth it?
If you move around a lot (fitness videos, cooking, vlogs, real estate tours), wireless lapel mics (like the DJI Mic or Rode Wireless GO) are essential. They keep the microphone close to your mouth regardless of where the camera is. If you sit at a desk, a dynamic USB/XLR microphone on a boom arm will offer better sound quality for the same price.
---
Make Them Stay and Listen
You can spend a week crafting the perfect script and lighting your set like a Hollywood movie, but if your audio hurts the ears, no one will stick around to appreciate your hard work. Audio is the foundation of viewer trust.
Once your audio is crisp, professional, and easy to listen to, your retention metrics will naturally increase. And when retention increases, you need to ensure your video is packaged perfectly to capture algorithmic momentum.
Use our free YouTube Title Generator to craft hooks that get people in the door, and use our YouTube Description Generator to provide the SEO metadata that helps them find you in the first place.
Upgrade your sound, and watch your channel grow.